Everything you need to know about Pod-Master — start free as a Guest, get booked on podcasts, and upgrade to Host Pro when you're ready to list your show.
Need a hand? Open Claudia (round avatar, bottom right). Pick Ask a question (3 per day, User Guide only), Fill from LinkedIn on Guest or Host profile, or — if you are a registered Host — Create an opportunity.
Review edition · updated 16 September 2026 · Claudia · Suggest best times · Applications · Credibility
How to apply, run the live pipeline, score Credibility, and use Relationships history.
How work moves through Pod-Master
After sign-in, use the Navigate section in the left sidebar. Three places matter most for bookings:
Applications — the live pipeline (apply → accept → schedule → record → score). Nothing duplicates here into Relationships while it is still open.
Credibility — the scoring desk. Guest and Host each leave a score after recording. When both are done, the loop closes.
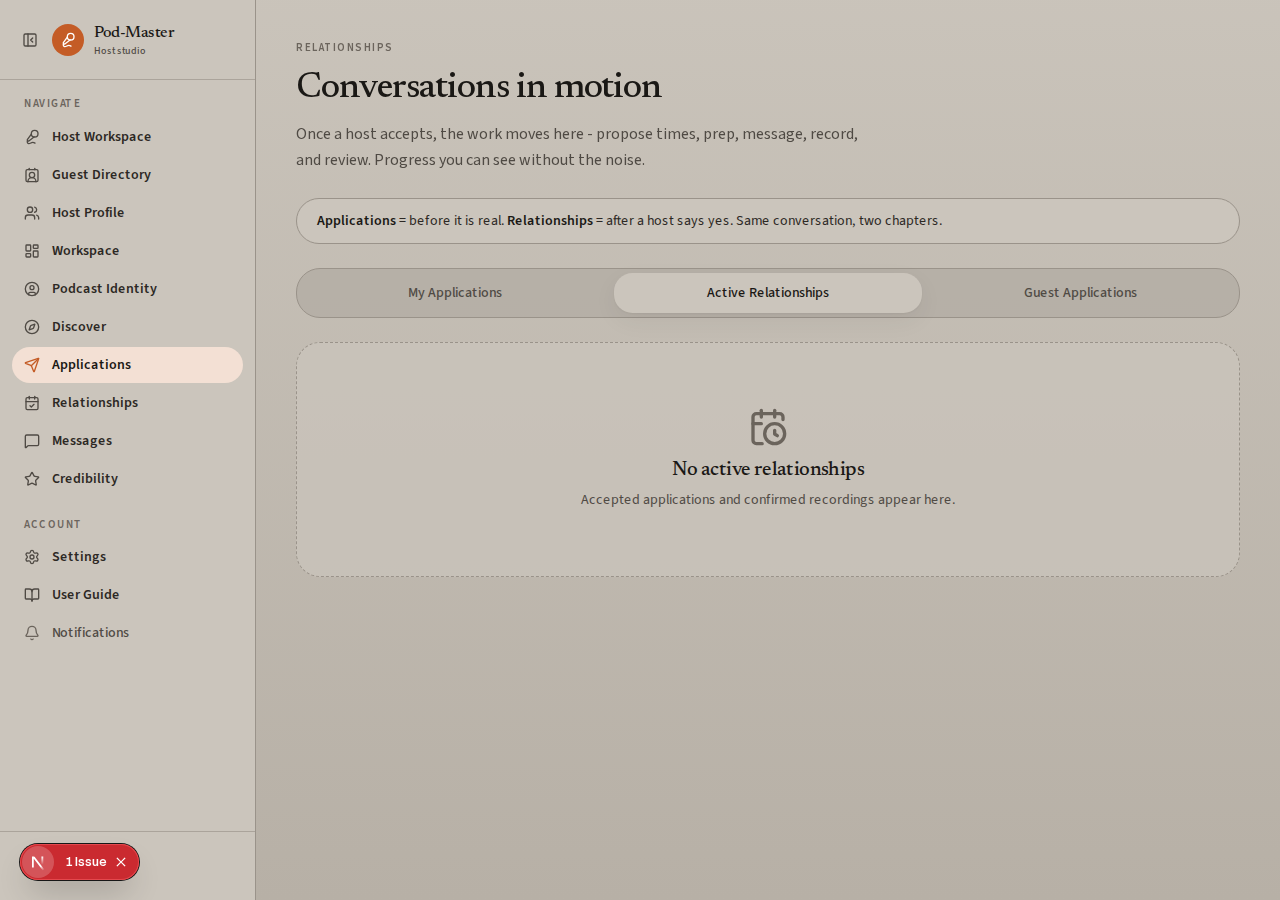
Relationships — history only. Declined, cancelled, or fully scored sessions live here so you can review or start again without rebuilding context.
Other destinations:
Guests land on Workspace — suggested next steps for the day
Hosts land on Host Workspace — production studio home
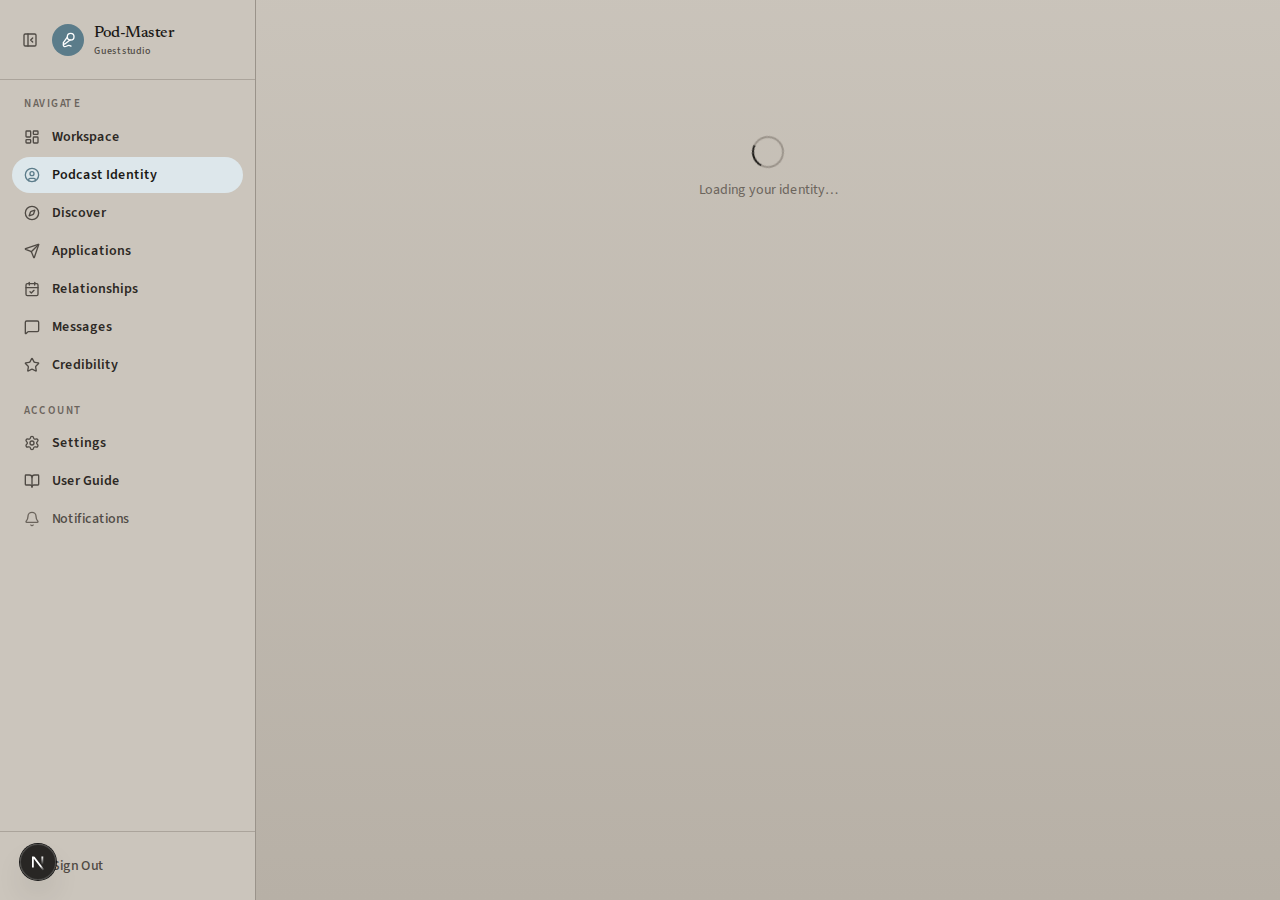
Podcast Identity — your media kit (required before applying)
Discover — browse shows worth a conversation
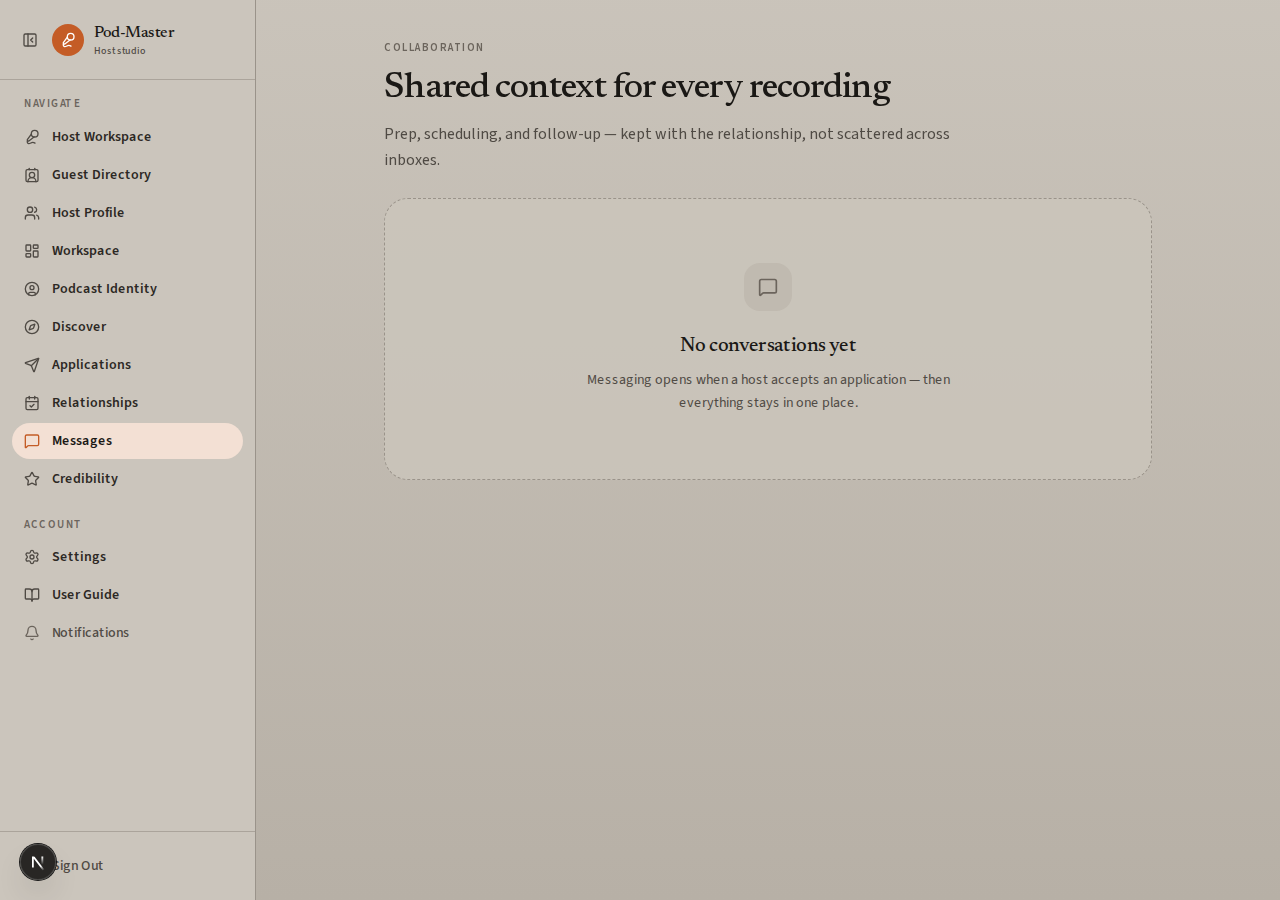
Messages — collaboration tied to each booking
Host Pro adds Host Profile, Guest Directory, and inbound Guest Applications. Community Host/Guest counts appear above Sign out. If you are also a Host and apply to other shows, those appear under My Applications and count toward Guest credibility automatically.
1. Getting Started
1
Create your free Guest account
Go to /register and enter your email address and a password (minimum 6 characters). Every new member starts as a Guest — there is no separate host signup.
2
Accept the Terms of Service and Privacy Policy
You must tick the required checkboxconfirming you have read and agree to Pod-Master's Terms of Service and Privacy Policy before you can create an account. The optional marketing checkbox is your choice.
3
Verify your email
Pod-Master will send a confirmation email. Click the link in that email to activate your account. Then return to /login and sign in.
If you do not see the email, check your spam/junk folder. The link expires after 24 hours.
4
Complete your Podcast Identity (required)
After your first login, Pod-Master redirects you to Podcast Identity (/guest-profile; legacy /onboarding redirects here) until your profile is complete. Fill in:
Display name: The name other users will see.
Headline: A one-liner (e.g. “Fintech Founder · Keynote Speaker”).
About you: A 2–4 sentence pitch — this is the first thing a host reads.
Podcast Identity — how hosts experience you before inviting you on their show.
Your bio is your pitch. Lead with what makes you a compelling guest: your background, what topics you speak on, and what audiences you've reached. You can update it at any time from Settings. Or open Claudia (bottom right) on this page and tap Fill from LinkedIn to draft most identity fields.
5
Add optional profile details
From Podcast Identity in the sidebar, or Settings → Edit Guest Profile, you can also add:
Speaking topics and areas of expertise
Recording setup and availability notes
Website and LinkedIn
A complete profile with a headline and LinkedIn link significantly increases your acceptance rate.
2. Using Claudia
1
Open Claudia
Look for Claudia's round avatar in the bottom-right corner of any Pod-Master page. Click it. She greets you with Hi I'm Claudia how can I assist? and shows stacked buttons — not a free-form chat until you pick a task.
Ask a question — User Guide how-to (signed in, 3 per day)
Fill from LinkedIn — fills the profile page you are on
Create an opportunity is hidden for Guests. It appears after you become a registered Host (Host Profile wizard and/or Host Pro).
Use Backin Claudia's header to return to the three buttons. Closing the panel does not change your Guest or Host forms until you apply or submit.
2
Ask a User Guide question (3 per day)
Sign in, tap Ask a question, then type a Pod-Master how-to (for example How do I apply to a show? or How does Suggest best times work?).
You get 3 User Guide questions per calendar day (UTC). Remaining count shows under her name.
Answers come only from this User Guide. If it is not in the guide, she will say she is not sure and point you to /help.
Off-topic chat (weather, jokes, other products, code, medical/legal advice) is refused. Pick a task button instead.
Ask one specific product question per message. Vague or general-knowledge questions use a daily slot and still get a refusal if they are outside Pod-Master.
3
Fill Guest or Host fields from LinkedIn
Open the page you want filled before you tap Fill from LinkedIn:
Host Profile (/host-profile) — Host / show identity
Paste a linkedin.com/in/… URL. LinkedIn often blocks automatic reading — if that happens, paste your LinkedIn About and Experience text. Then review fields with Back / Next / Edit and tap Apply all, then save the page as usual.
Guest fields Claudia can draft: first name, surname, headline, about you, speaking topics, areas of expertise, LinkedIn URL, website, recording setup, region.
Host fields Claudia can draft: host / show name, host bio, region.
Claudia does not fill date of birth, availability windows, or appearance links. Complete those yourself. She will not invent employers, degrees, or URLs that are not in the LinkedIn text. Always read the draft before you save.
4
Create an opportunity (Hosts only)
Guests do not see this button. After you upgrade and complete host setup, open Create opportunity, then use Claudia to brief → Q&A → draft → review → submit. See the Host Guide for listing options (applicant mode, compensation, expiry, invites).
5
Guardrails (what Claudia will not do)
Claudia is a scoped Pod-Master assistant, not a general chatbot.
No AI call until you tap a task button.
User Guide answers only; she does not invent features, prices, or legal terms.
LinkedIn and opportunity help require you to be signed in.
Opportunity drafts require a registered Host account.
She will not fill the wrong profile (Guest vs Host) — that follows the page you are on.
You stay in control: review, edit, apply, then save or publish on the form. She does not replace Terms, Privacy, or human support.
For account, billing, or anything missing from this guide, use Contact or email hello@poddle.io.
3. Finding Podcasts
1
Open Discover
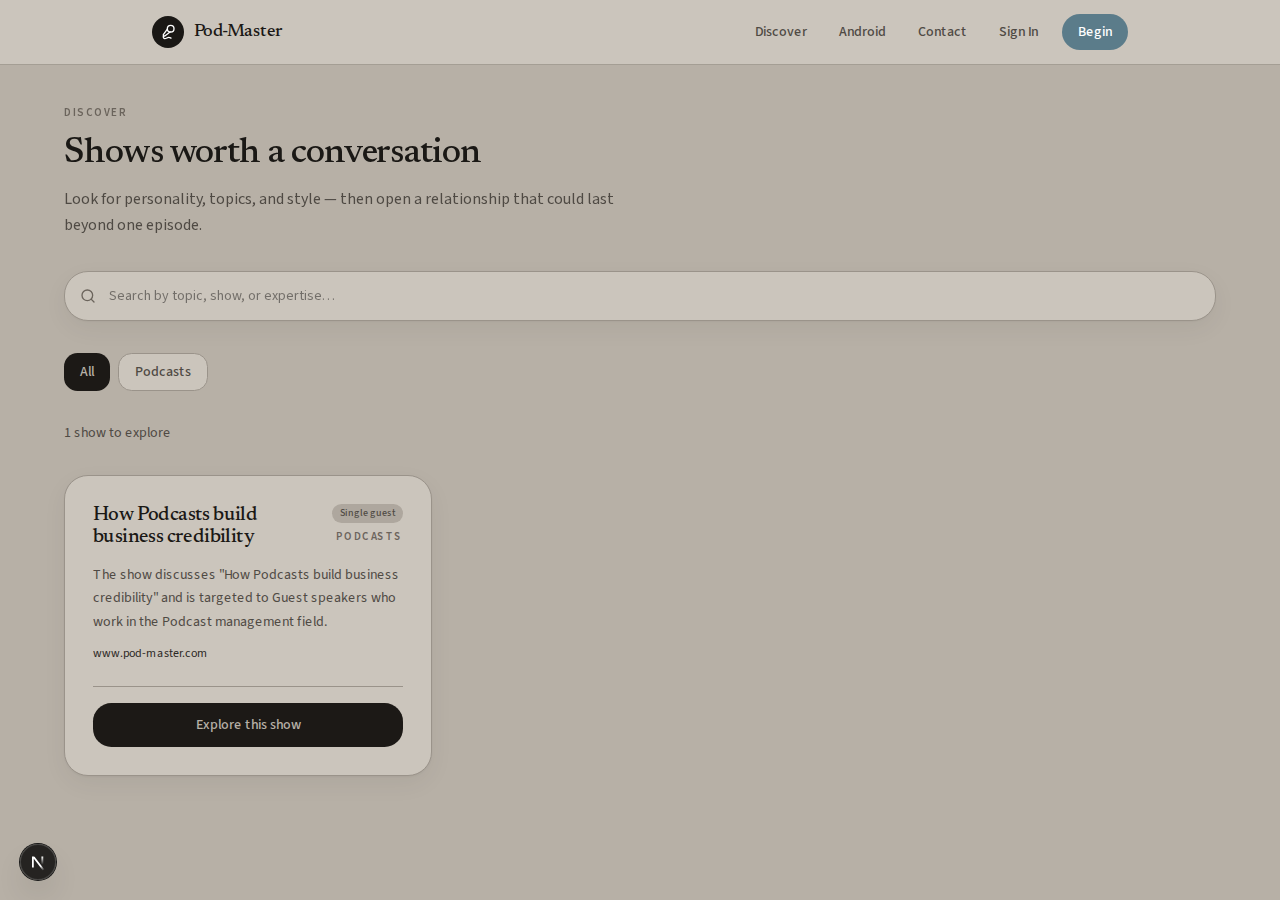
Click Discover in the sidebar, or go to /browse. This page is also publicly accessible before you log in.Discover — shows worth a conversation, with search and category filters.
2
Search by keyword
Use the search bar at the top to search for topics, show names, or keywords. Results update automatically as you type (allow about half a second).
3
Filter by category
Below the search bar is a row of category filters built from live podcast listings (e.g. Business, Technology, Health). Click a category to filter. Click All to clear.
4
View a podcast
Click any podcast card to open its detail page. You will see the show name, description, category, website link, host reputation (when the host has reviews), and guest reviews. Cards and detail pages also show a Guest compensation badge:
Reputation only — appearance for credibility and exposure; no paid expectation
Open to compensation — the host is willing to discuss paying you; agree amount and terms in Messages after you are accepted
4. Applying to a Podcast
1
Open the podcast detail page
From Discover, click the podcast you want to apply to.
2
Fill in the application form
On the podcast detail page, check the compensation badge first, then use the Apply to Appear section:
Topics — include three optional topics you would like to discuss
Pitch— why you're a great fit for this show
Promotion request(when the opportunity allows it) — Yes/No for “What would you like to promote?”. If Yes, choose Personal or Company and describe what you want to promote.
Pod-Master does not process guest payouts yet. If a listing is Open to compensation, treat pay as a conversation after accept — not a guaranteed fee at apply time.
If you are not logged in, you will see prompts to create a free account or sign in.
3
Write a compelling pitch
Include in your pitch:
Why you are a good fit for this specific show
What topic or angle you would bring
Any relevant experience, credentials, or previous podcast appearances
Generic pitches get ignored. Personalise your message for each show — mention an episode you enjoyed or a gap in the host's recent content that you could fill.
4
Submit your application
Click Send Application. The host receives an in-app notification (and an email when email delivery is enabled). Your application appears under Applications in the sidebar (the My Applications tab).
You cannot apply to the same show again while a live application still exists (including a recorded session waiting on credibility scores). After it is declined, cancelled, or both scores are complete, it moves to Relationships — use Apply again from history or apply fresh from Discover.
5. Applications & Scheduling
1
View your applications
Click Applications in the sidebar (or /bookings?tab=outbound). Open the My Applications tab for your live pipeline (through recording and credibility). Closed loops appear under Relationships. Each card includes a Relationship journey timeline for quick context:
PENDING — Your application has been sent. Waiting for the host to respond.
ACCEPTED — The host has accepted you and proposed recording slots.
SCHEDULED — You confirmed a slot. Recording is scheduled.
REJECTED — Declined; moves to Relationships history (you can apply again later).
Workspace Next Actions surface the next smooth step — confirm a slot, message, score, or wait on the other party — so nothing stalls unnoticed.
2
Confirm your recording time
When a host accepts your application, they propose up to 3 recording date/time slots (often via Suggest best times, using both of your availability bands) and may include a Recording Brief. Your account and application are already enough — there is no separate guest intake step. You will receive an in-app notification and email (when email delivery is enabled).
In Applications → My Applications, find the accepted booking:
Click the host slot that works best — then Confirm recording time.
Or use Suggest a different time (once)if none of the host's slots work. The host can then accept one of your times or send three new slots. You cannot suggest a second round — only confirm a host slot after that.
The booking moves to SCHEDULED and stays under Applications until both reviews are done, then moves to Relationships. Both you and the host receive confirmation notifications.After confirming a slot, the booking stays under Applications → My Applications.
3
Stay in Applications until credibility is done
Accepted, scheduled, and recorded journeys stay under Applications → My Applications until both parties complete credibility scores. Use the card to see confirmed times and message your host before the session.
4
Prepare for the recording
Review the Recording Brief carefully. Use the Messages feature to ask the host any clarifying questions. Confirm your technical setup (microphone, quiet room, internet connection) in advance.
All times are shown in your local browser timezone. If you and the host are in different countries, double-check the timezone before confirming.
6. Messaging
1
Access a conversation
Click Messages in the sidebar under Menu, or go to /messages. You can also click Message host on any ACCEPTED or SCHEDULED booking card under Applications (live) or open a completed thread from history.Messages — shared context for every recording, one thread per relationship.
2
Open a thread
Click any conversation in the list to open the message thread with that host. Each thread is tied to a specific booking (one conversation per application).
3
Send a message
Type in the message box at the bottom and click Send (or press Enter). Messages refresh automatically every few seconds. The other party receives an in-app notification — click it to jump straight back into the thread.
Messaging opens as soon as a host accepts your application — you do not need to wait until the session is scheduled. Use Messages to confirm technical details, share social handles for show notes, or send a “great recording!” note afterward.
7. Credibility scoring
1
Open the Credibility desk
After a recording is marked complete, open Credibility (/reviews). Pending scores appear under Scores to complete, labeled As Guest or As Host. Your Applications card also offers Score the Host until you submit.
2
Score the Host
Rate the host (1–5 stars) and optionally add a comment. You can only leave one score per booking. After you submit, the card waits for the host to score you — it does not move to history yet.
3
When both scores are done
Once Guest and Host have both scored, the relationship leaves Applications and appears under Relationships for history and restart.
4
View As Guest vs As Host panels
Credibility shows separate panels:
As Guest — appearances you made and reviews hosts left for you
As Host — sessions you hosted and reviews guests left for you
If you upgrade to Host Pro and still apply to other shows, both panels stay active on the same account.
Reviews cannot be edited after submission. Workspace Next Actions also point you to any score you still owe.
8. Relationships history
1
Open history
Click Relationships in the sidebar. This list is archive-only — live work stays under Applications.
2
What appears here
Declined applications
Cancelled or no-show sessions
Recorded sessions where both credibility scores are complete
3
Start again without rebuilding
Use Apply again from history or Start again from history to open a fresh live application with the same guest and show — less work for everyone.
9. Notifications
1
In-app notifications
The bell icon under Account in the sidebar shows a badge when you have unread notifications. Click it to open the Notifications page, which lists:
Booking accepted or rejected
Recording scheduled (links to Applications)
New message received (links directly to the conversation)
Review received
Opening the Notifications page marks all items as read.
2
Email notifications
Pod-Master can also send transactional emails for key events (when email delivery is enabled):
Welcome email when you complete your guest profile
Booking accepted (with proposed slots)
Booking rejected
Recording scheduled (slot confirmed)
Booking completed
Check your spam folder if you are not receiving emails.
10. Account & Settings
1
Update your display name
Go to Settings in the sidebar. Edit your display name in the Account section and click Save Changes.
2
Understand Guest vs Host roles
In Settings → Your Roles, your roles are shown as read-only status cards. Every account includes Podcast Guest (always active). Podcast Host becomes active only when your Host Pro subscription is active — see the Host Guide for the upgrade flow.
3
Update your bio
Edit your bio in the Your Bio section and click Save Bio. This updates both your guest and host profile bios.
4
Edit detailed profile
Click Edit Guest Profile in the Detailed Profiles section to update your headline, full bio, website, and LinkedIn URL.
5
Delete your account
Scroll to the Danger zone at the bottom of Settings. Type DELETE in the confirmation field and click Permanently delete account. This removes your profile, bookings, messages, and reviews. This action cannot be undone.
Account deletion requires server configuration in production. If deletion fails, contact hello@poddle.io.
6
Sign out
Click Sign Out at the very bottom of the left sidebar.